Course Requirements:
- A WordPress website.
- Familiar with WordPress and WordPress administration.
- Familiar with WordPress plugins and plugin installation.
Follow the steps below.
Step 1: Install the Smash Balloon Social Photo Feeds plugin.
Step 2: Activate the plugin.
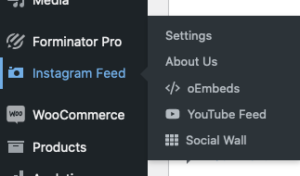
Step 3: Click Instagram Feed (left-sidebar menu) to access the plugin settings.
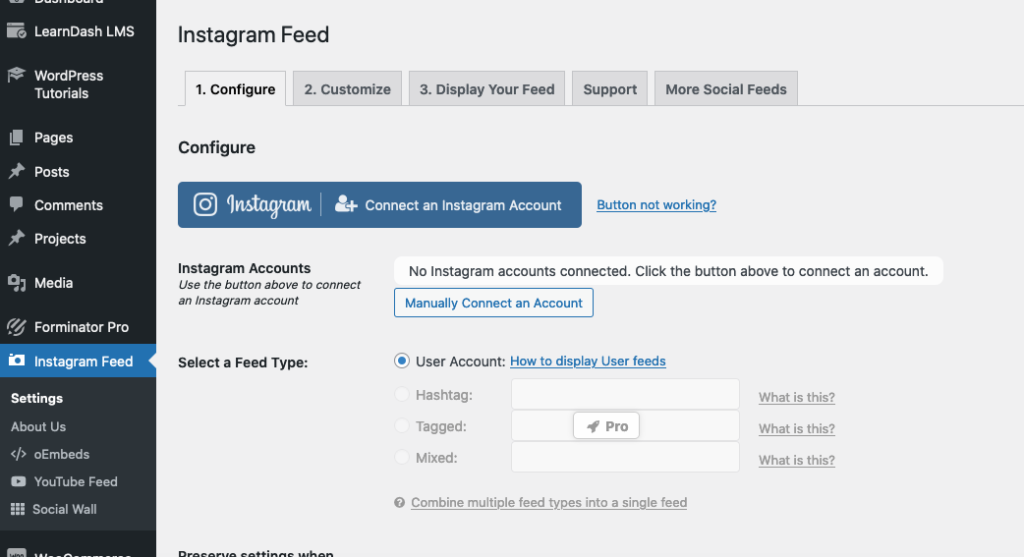
Step 4: Click the Connect An Instagram Account button (under the Configure tab).
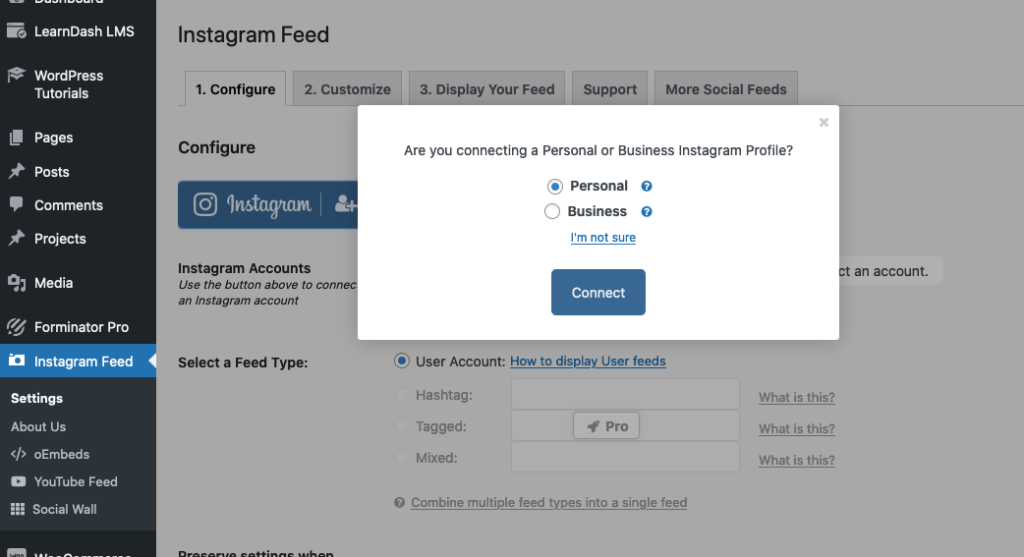
Step 5: Select Personal or Business account type (select Personal if you are not sure which type to choose), then click the Connect button.
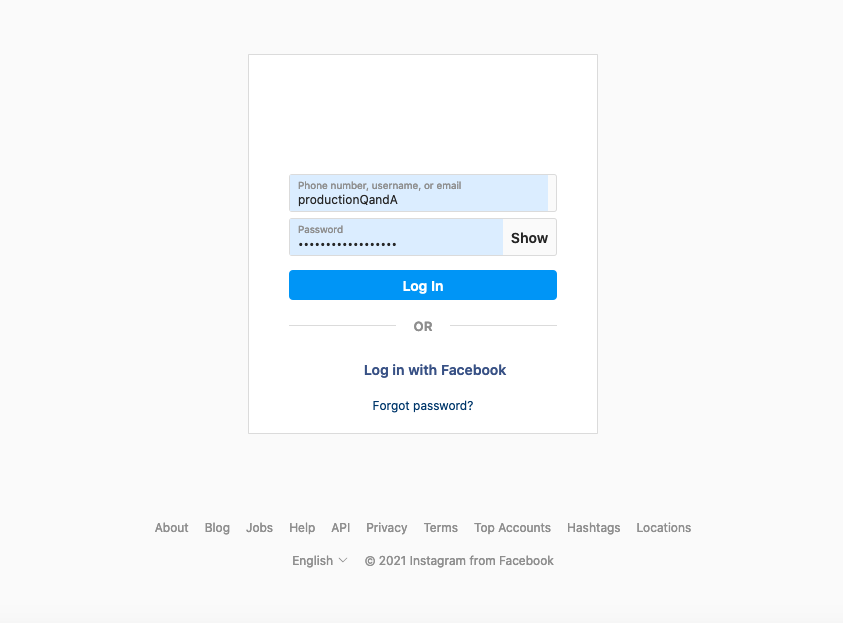
Step 6: Enter your Instagram account log in username (or email) and password. Click the Log In button.
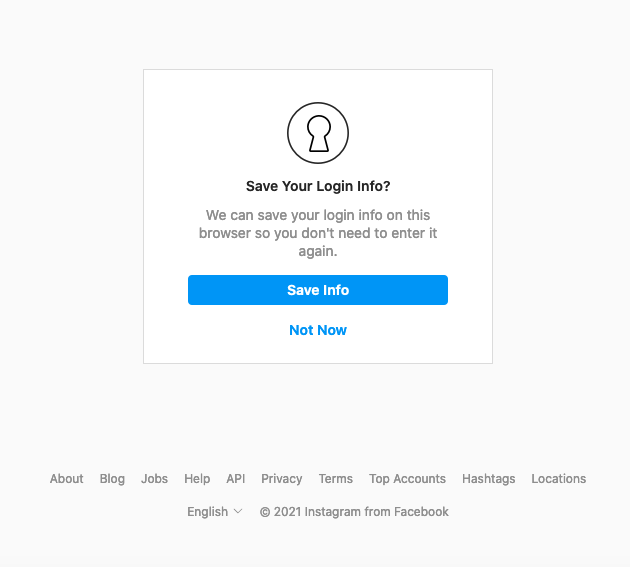
Step 7: Click Not Now on the Save Your Login Info window.
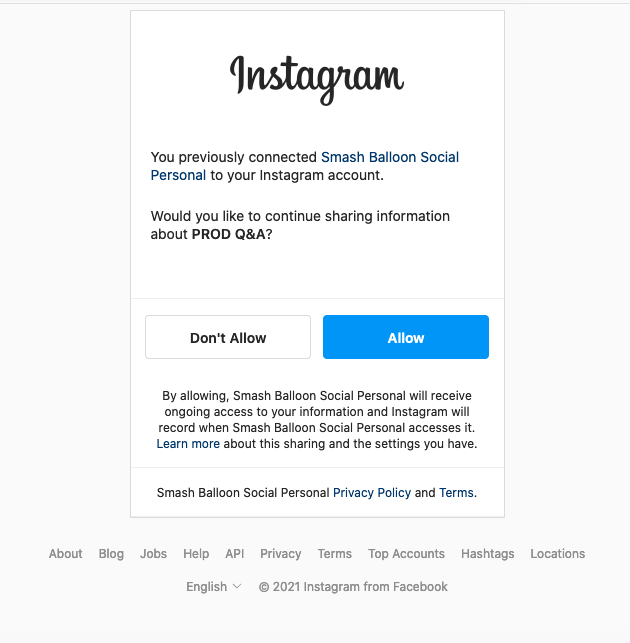
Step 8: Click the Allow button.
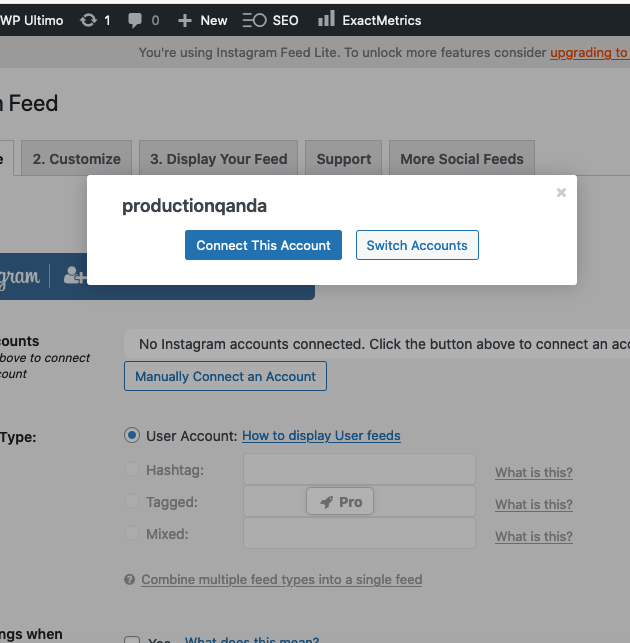
Step 9: Click the Connect This Account button.
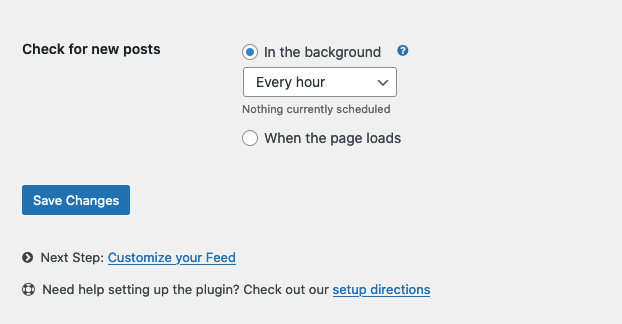
Step 10: Select the In the Background option under the Check for new posts section. Then select Every Hour on the menu.
Step 11: Click the Save Changes button.
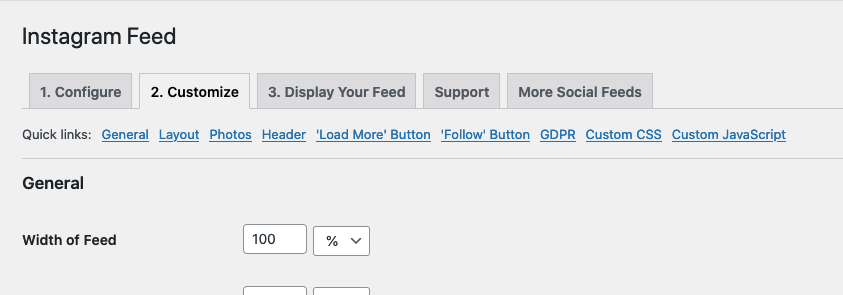
Step 12: Click the 2. Customize tab.
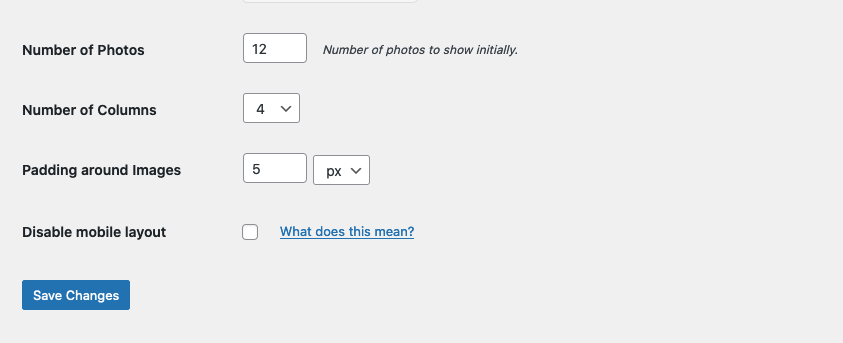
Step 13: Change the Number of photos to 12 (this will display 3 rows of feed images – 12 photos ÷ 4 columns = 3 rows).
Step 14: Click the Save Changes button.
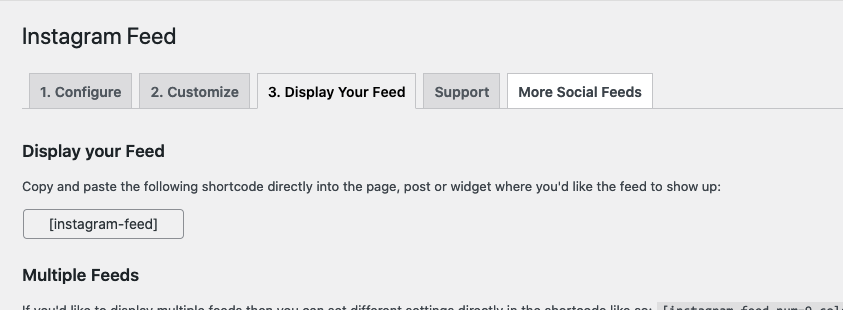
Step 15: Click the 3. Display Your Feed tab.
Step 16: Select and copy the instagram-feed shortcode in the Display your Feed section.
Step 17: Paste the shortcode where you want the feed to appear in a page or post.